Learning how to add products in WooCommerce is one of the most important steps when building an online store with WordPress. Without properly configured products, customers won’t be able to view details, choose variations, or complete purchases.
WooCommerce makes product creation flexible, allowing you to sell simple products, variable products, digital downloads, affiliate products, and grouped products—all from a single dashboard. However, for beginners, the many options such as pricing, inventory, attributes, and variations can feel confusing at first.
In this step-by-step WooCommerce product tutorial, you’ll learn how to add and manage products correctly, from setting prices and stock to creating product variations. This guide is designed for beginners who want a clear, practical, and SEO-friendly approach to setting up WooCommerce products that are ready to sell.
Getting Started: Create a New Product
To start adding a product in WooCommerce, navigate to Products → Add new product
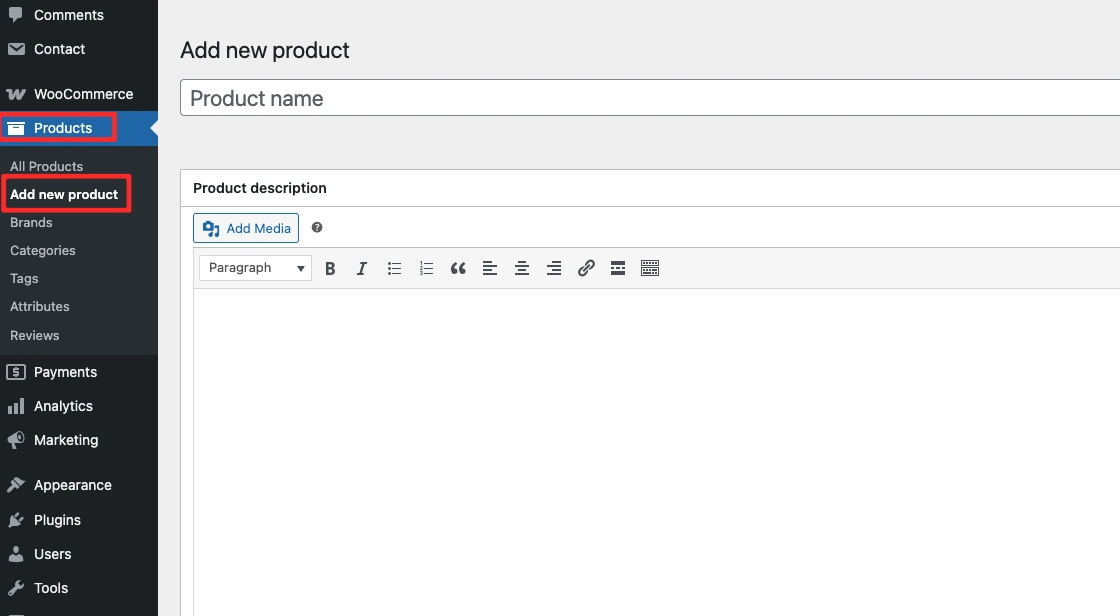
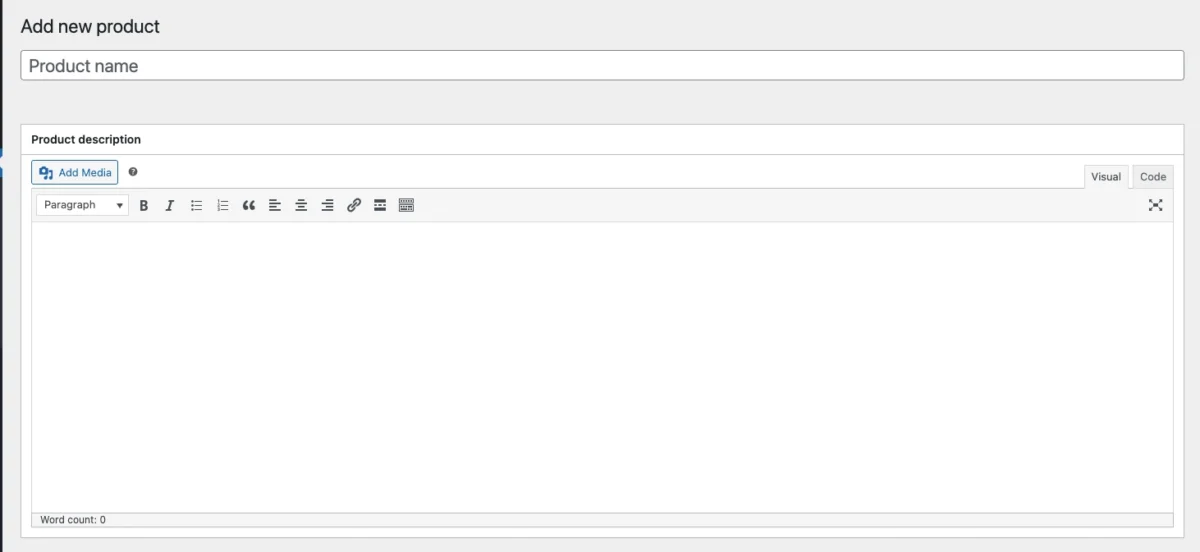
1. Add Product Title, and Description
Start by entering:
- Product title – Create a unique and compelling product title to increase clicks.
- Product description – The main description is used to explain product details, features, and benefits.
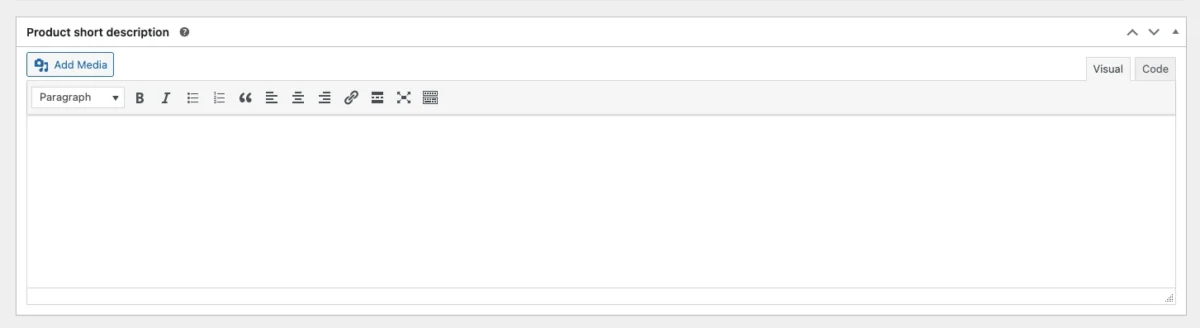
2. Add a Short Description
The short description usually appears next to the main product image.
Its purpose is to:
- Highlight key benefits
- Grab customer attention
- Encourage visitors to scroll and read the full description
Keep it concise and persuasive.
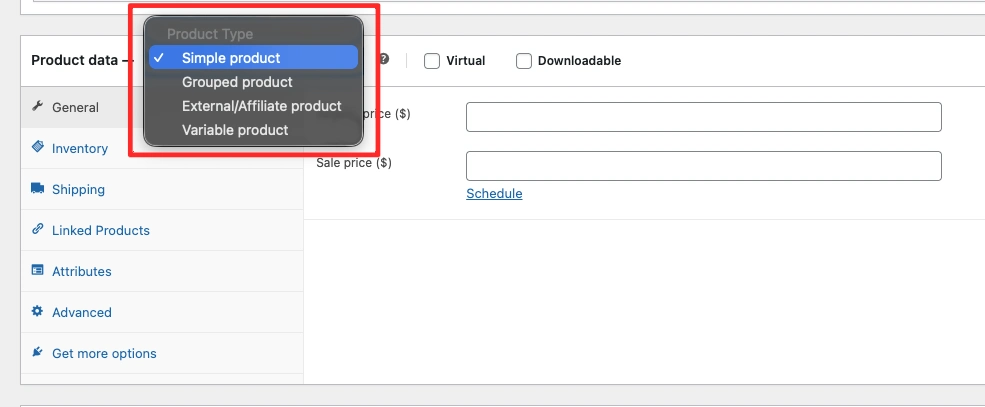
3. Choose Product Type
WooCommerce offers several product types, including:
- Simple Product – Use this for basic products without variations (no size, color, or options).
- Variable Product – Suitable for products with variations such as size, color, or material.
- Grouped Product – A collection of related products sold together as a bundle.
- External / Affiliate Product – Products that redirect customers to another website for purchase.
If you sell digital goods or services, enable:
- Virtual (no shipping required)
- Downloadable (for digital file delivery)
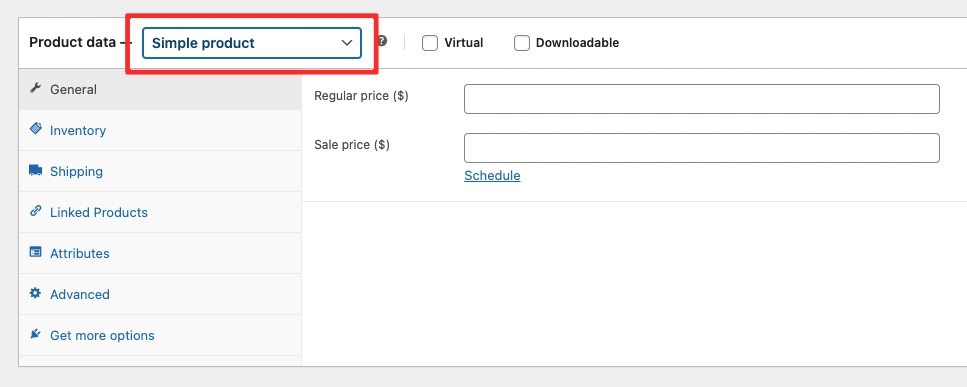
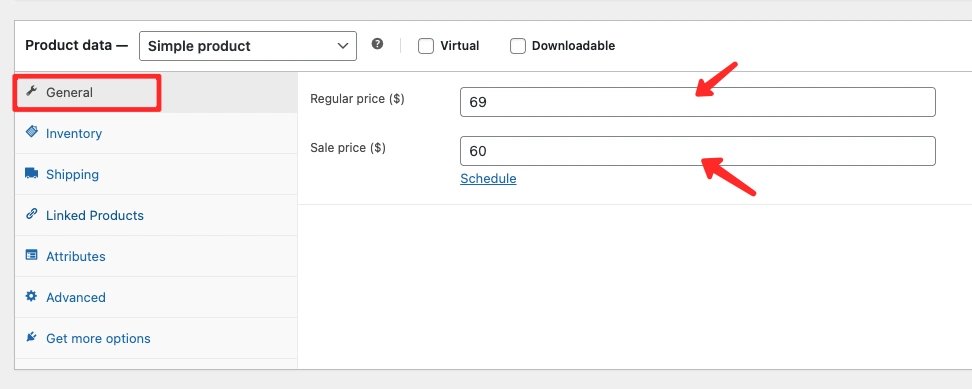
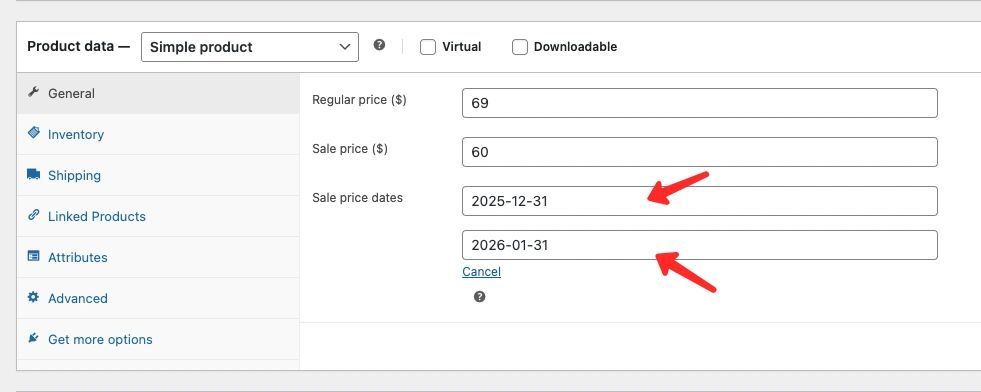
4. Set Product Pricing
Pricing is mandatory. Products without a price will not appear on the store.
- Regular Price – Standard product price
- Sale Price – Discounted price
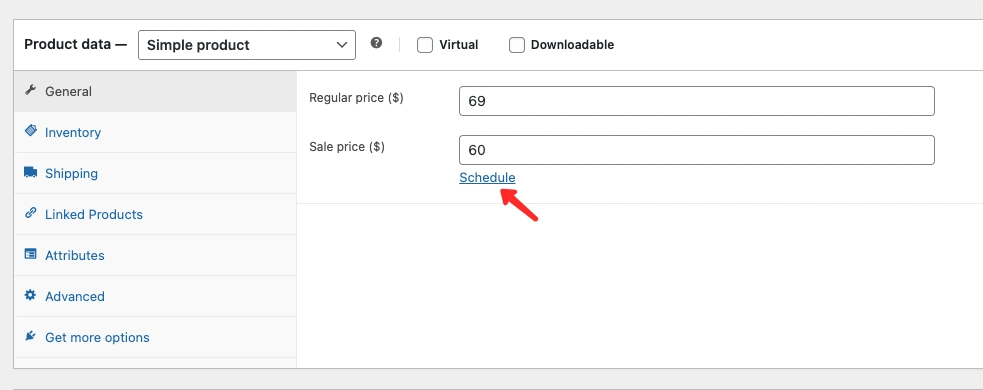
WooCommerce allows you to schedule sale prices for specific dates. Once the sale period ends, the price automatically returns to normal at 23:59 on the final date.
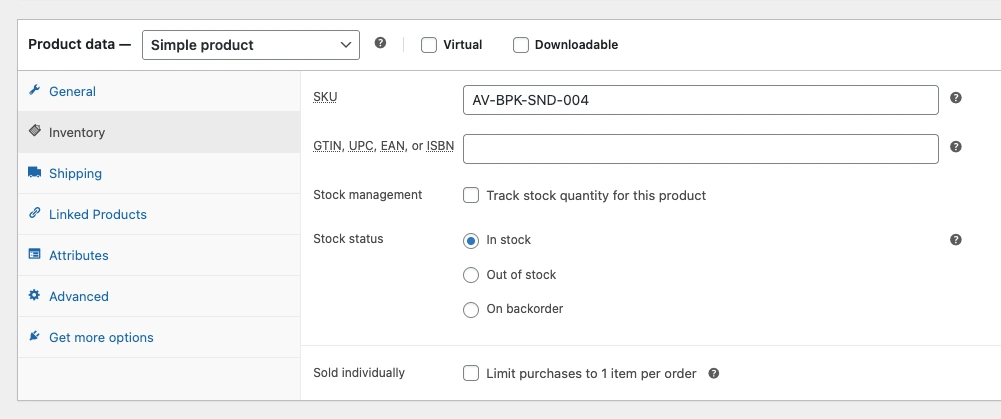
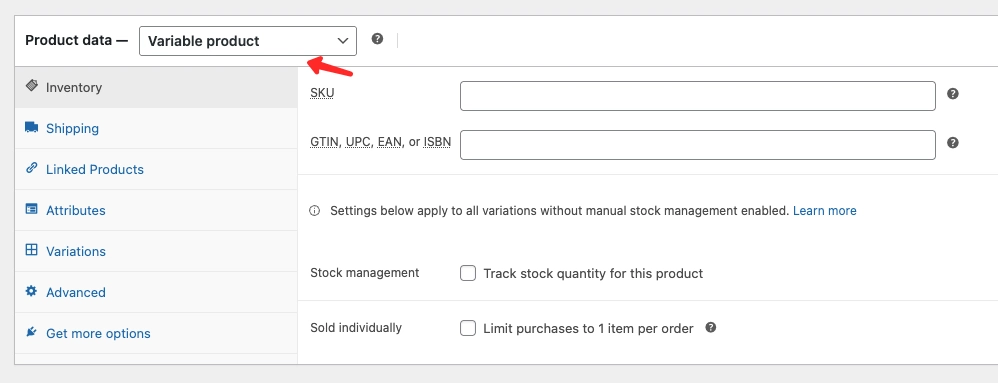
5. Manage Product Inventory
In the Inventory section, you can control stock and purchasing limits.
- SKU – A unique product identifier.
- Manage stock? – Enable stock management at the product level.
- Stock quantity – Set the number of available items.
- Allow backorders – Let customers place orders even when stock is out. They will receive an email notification when the product becomes available.
- Low stock threshold – Receive an email alert when stock reaches a defined limit.
- Sold individually – Restrict customers to purchasing only one item per order.
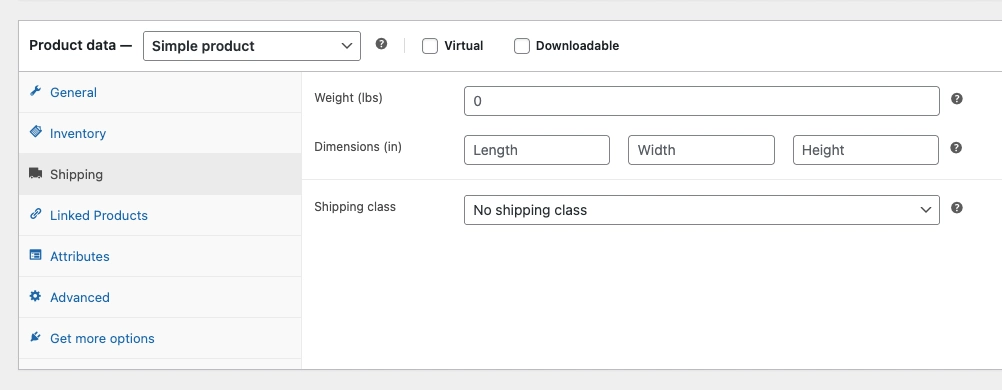
6. Configure Shipping Settings
Shipping settings determine how shipping costs are calculated at checkout.
- Weight – Product weight
- Dimensions – Length, width, and height
- Shipping class – Assign products to specific shipping groups
These values are used by WooCommerce to calculate shipping fees accurately.
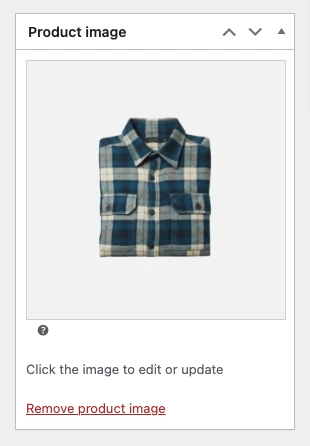
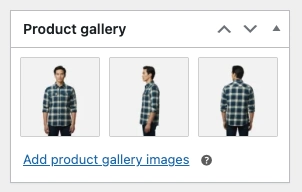
7. Add Product Images
Upload:
- A featured image (main product image)
- Gallery images for additional views
High-quality images significantly improve conversion rates.
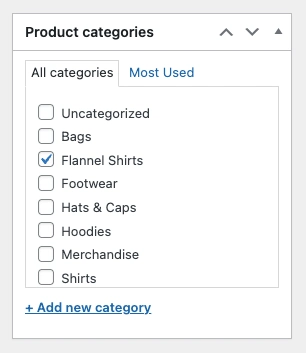
8. Assign Product Categories
Product categories help organize your store by:
- Product type
- Brand
- Collection
Click Add New Category to create a new one. You can assign multiple categories to a single product.
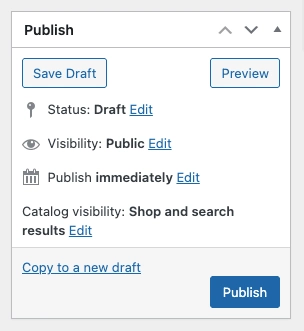
9. Publish the Product
Before publishing:
- Double-check all product details
- Ensure pricing, stock, and images are correct
Click Publish to make the product live on your website.
How to Add Variable Products in WooCommerce
Variable products are more complex because each variation has its own data. This product type is ideal for items with multiple options such as size and color.
To Add a Variable Product in WooCommerce, Follow These Steps:
- Select Variable Product in the Product data dropdown
- Open the Attributes tab, Choose attributes (e.g., size, color)
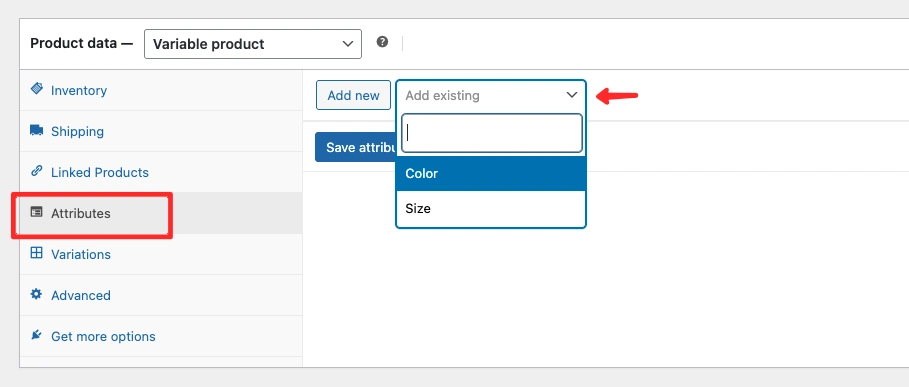
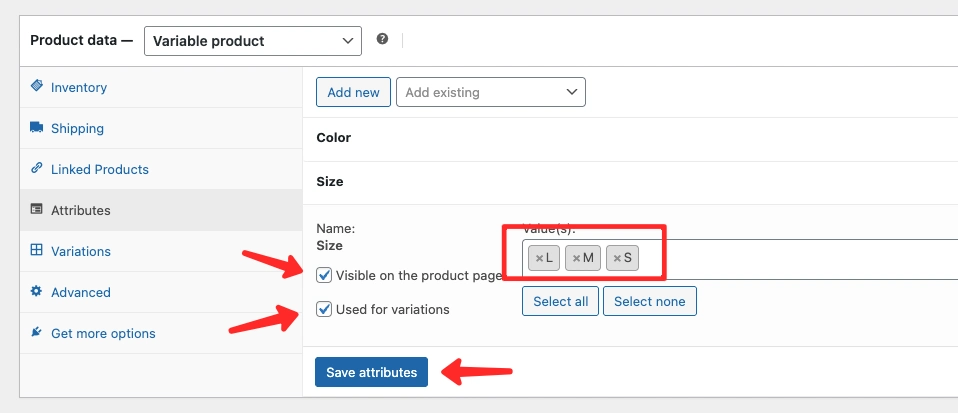
- Enter or choose the attribute values, such as S, M, and L
- Check the Visible on the product page option to display these attributes in the Additional Information tab.
- Check the Used for variations option to enable the attribute for creating product variations.
- Click the Save attributes button to store your settings.
After saving, the selected attributes will be available for use when creating product variations in the Variations tab.
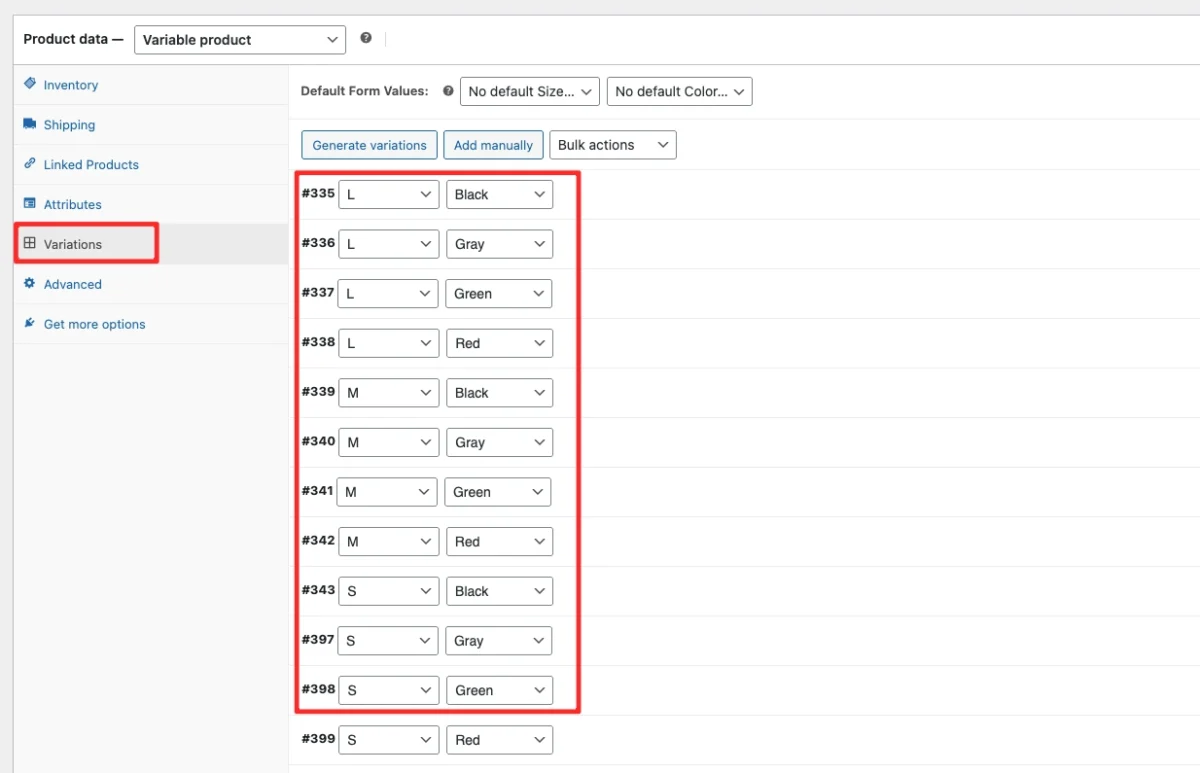
- Go to the Variations tab.
- Click the Generate variations button to automatically create all variations based on the attributes selected earlier in the Attributes tab.
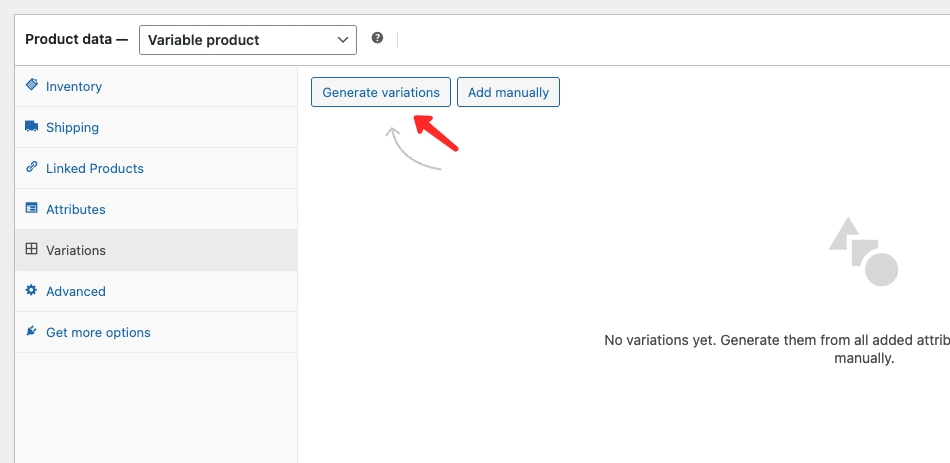
After the variations are generated, each variation can be configured individually, including price, stock, SKU, and other settings.
- Click on each variation combination to expand it and start entering the product data.
- Each variation must have a price. If a variation does not have a price, the product cannot be purchased on the product page.
- Use the Bulk actions feature to apply data to multiple variations at once.
- The Bulk actions option is especially useful when all variations share the same price or similar settings.
This approach helps speed up the setup process and ensures all variations are properly configured before publishing the product.
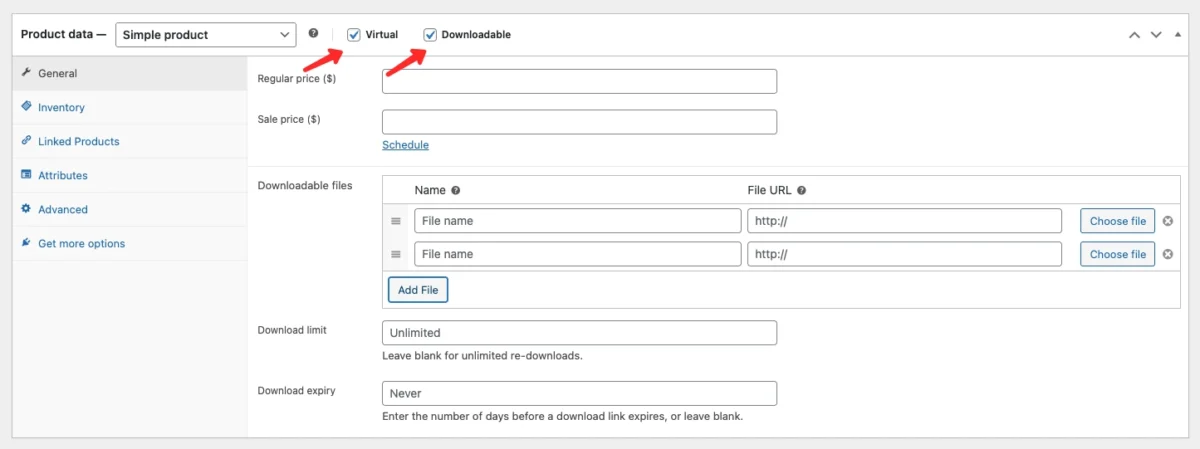
How to Add Digital Products
For digital products, enable Virtual and Downloadable
Once enabled, additional options will appear:
- Downloadable files – Add file names and URLs. Files are only accessible after successful payment.
- Download limit – Restrict how many times a customer can download the file.
- Download expiry – Set an expiration period for download access.
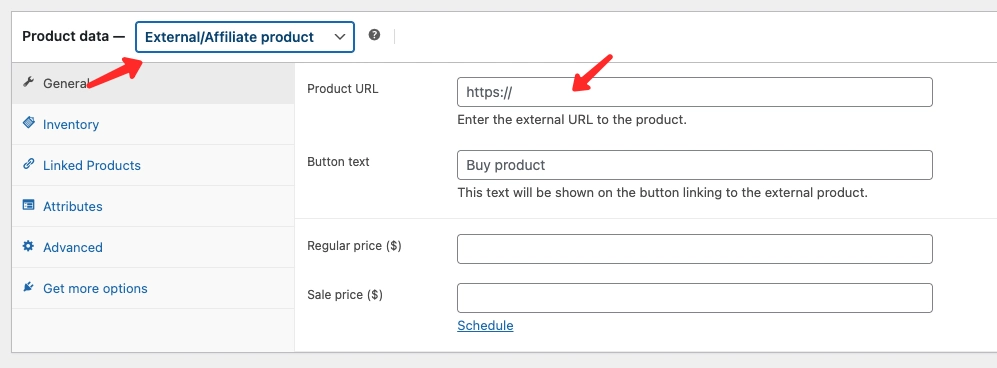
How to Add External / Affiliate Products
External products redirect customers to another website for purchase. This feature allows WooCommerce to function as an affiliate product catalog.
To Add a External Product in WooCommerce, Follow These Steps:
- Select External/Affiliate Product
- Enter the Product URL
- Customize the Button text
- Set Regular price and Sale price
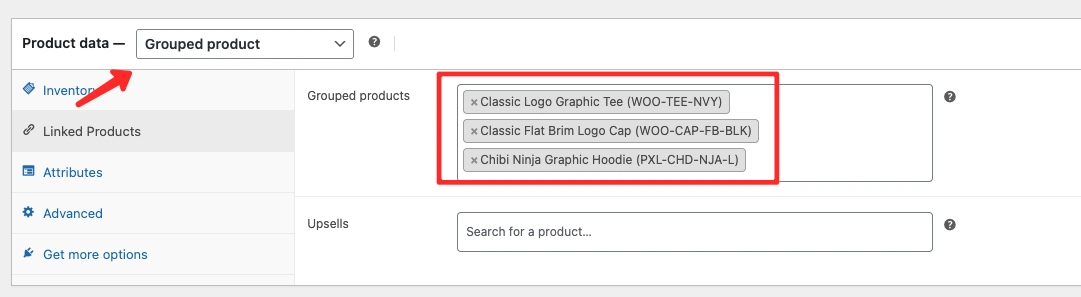
How to Add Grouped Products
Grouped products consist of multiple individual products sold together.
Example: a bundle of a cap, shirt, and prayer mat.
To Add a Grouped Product in WooCommerce, Follow These Steps:
- Select Grouped Product
- Enter the SKU
- Open the Linked Products tab
- Select products under Grouped products
Conclusion
Adding products in WooCommerce is a straightforward process, but accuracy and consistency are essential. Every detail you configure—such as pricing, inventory, attributes, and variations—directly affects how customers experience your store and complete their purchases.
By following this guide, you now understand how to add products in WooCommerce step by step, including simple, variable, digital, affiliate, and grouped products. A well-structured product setup not only improves usability but also helps your store perform better in search results.
To make the process even easier, using a clean and well-optimized WooCommerce theme can save time and reduce complexity. Kubelio is a lightweight WooCommerce theme designed for clarity, speed, and ease of use—especially for beginners who want a simple product setup and a distraction-free shopping experience.
If you’re building a new WooCommerce store or optimizing an existing one, Kubelio provides a solid foundation to showcase your products effectively and grow your online business with confidence.
Comments